How to Set Up Dual SIM (Home + eSIM) on iPhone and Android
One of the biggest advantages of eSIM technology is dual SIM support — the ability to keep your physical home SIM active while using an eSIM for data in another country.
This means you never have to choose between keeping your home number and having affordable internet abroad. Here's exactly how to set it up.
Why Use Dual SIM?
With dual SIM (home + eSIM) setup:
- Home SIM handles calls, SMS, and banking verification codes
- eSIM provides high-speed data at local rates
- Both work simultaneously — no switching required
Prerequisites
Before you start, make sure:
- Your phone is unlocked (not carrier-locked to a single network)
- Your phone supports eSIM (iPhone XS+, Samsung S20+, Google Pixel 4+, etc.)
- You've purchased an eSIM plan from Roaming2 and received the QR code or installation link
- Your physical home SIM is inserted and working
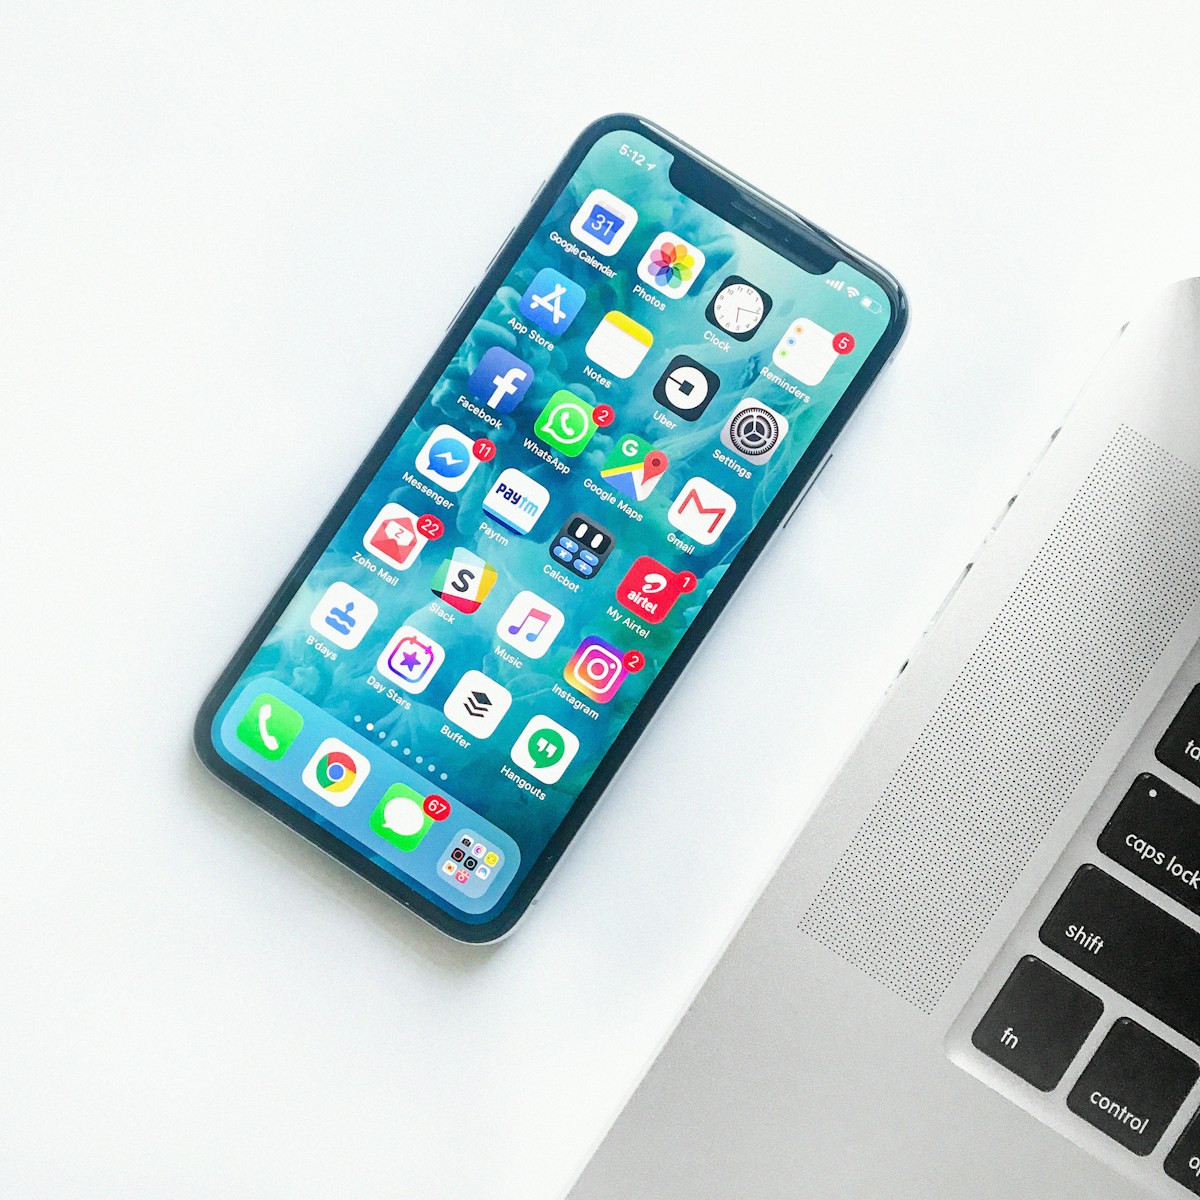
Setting Up Dual SIM on iPhone
Step 1: Add Your eSIM
- Open Settings
- Tap Cellular (or Mobile Data)
- Tap Add Cellular Plan
- Scan the QR code from Roaming2, or tap the installation link from your email
- If prompted, enter the confirmation code provided in your eSIM email
Step 2: Label Your Plans
After adding the eSIM, you'll be asked to label each line:
- Home SIM: Label it "Personal" or "Primary"
- Roaming2 eSIM: Label it "Travel Data" or "Roaming2"
Tip: Clear labels make it easy to tell which line is which in the settings.
Step 3: Set Default Lines
- Go to Settings → Cellular
- Under Cellular Plans, tap your home SIM
- Set Default Voice Line or tap Cellular Data and choose your eSIM
Here's the ideal configuration:
| Setting | Choose |
|---|---|
| Cellular Data | Roaming2 eSIM |
| Default Voice Line | Home SIM |
| iMessage & FaceTime | Home SIM (or both) |
Step 4: Enable Data Roaming
- Tap on your Roaming2 eSIM in Cellular settings
- Toggle Data Roaming ON
- Tap Network Selection → set to Automatic
Step 5: Activate When You Travel
Your eSIM is installed but inactive until you arrive:
- Keep the eSIM turned off until you land
- At your destination, go to Settings → Cellular
- Tap your Roaming2 eSIM and toggle it ON
- Data Roaming should already be enabled
You're now connected! 🎉
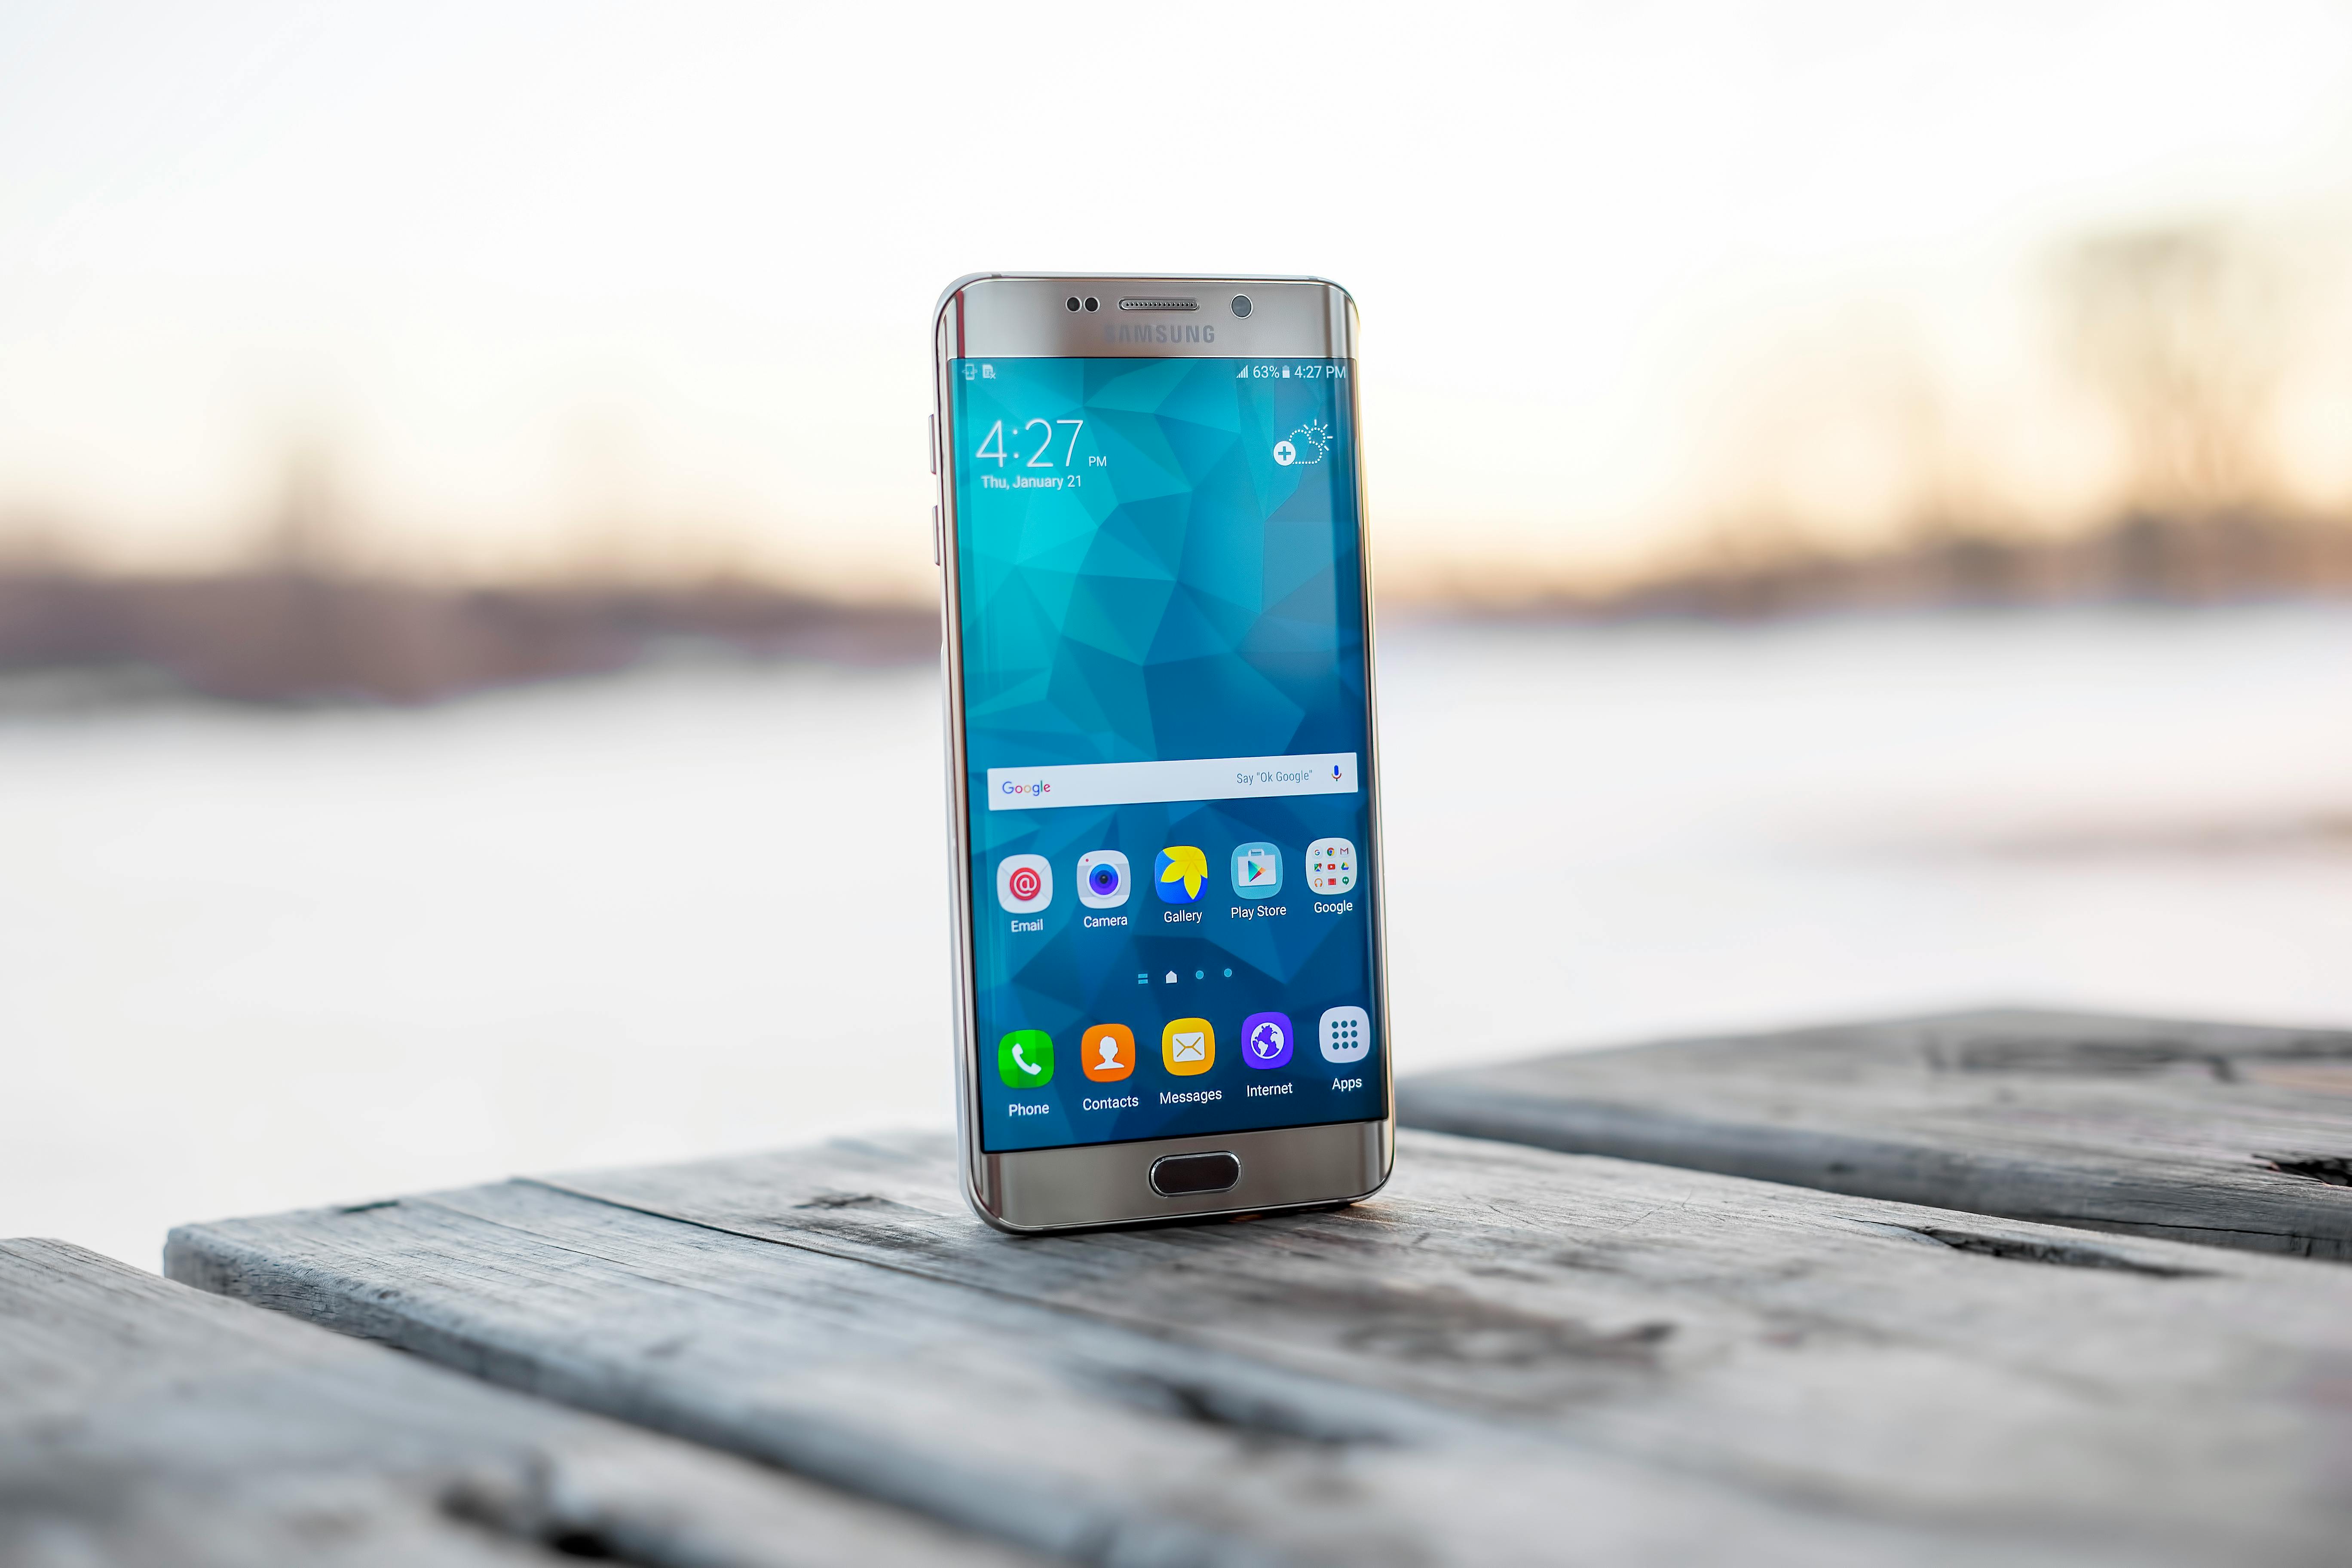
Setting Up Dual SIM on Android
The process varies slightly by manufacturer, but the general steps are the same.
Samsung Galaxy
- Open Settings → Connections → SIM Card Manager
- Tap Add eSIM
- Scan the QR code from Roaming2
- Follow on-screen prompts to download the profile
Configure default lines:
- In SIM Card Manager, tap your home SIM
- Set Preferred SIM for voice calls and SMS messages to home SIM
- Tap your Roaming2 eSIM
- Set Mobile Data to Roaming2 eSIM
- Turn on Data Roaming for the eSIM
Google Pixel
- Open Settings → Network & Internet → SIMs
- Tap Add SIM → Download a SIM instead?
- Scan the QR code
- Once added, tap your home SIM and set it for Calls & SMS
- Tap the eSIM and set it for Mobile data
Other Android Devices
Most Android phones follow a similar pattern:
- Settings → Network & Internet → Mobile Network
- Add carrier or Download eSIM
- Scan QR code
- Set eSIM for data and home SIM for calls/SMS
Quick Troubleshooting
No Service on eSIM?
- Toggle Airplane Mode on and off
- Restart your phone
- Manually select a network: Settings → Cellular → Network Selection → choose a carrier
Can't Receive SMS on Home SIM?
Make sure your home SIM is set as the default for SMS/voice. On iPhone: Settings → Cellular → Default Voice Line. On Android: Settings → SIM Card Manager → Preferred SIM for SMS.
Dual SIM Not Working?
Some budget or older phones limit dual SIM functionality. Check your phone's specifications — search for "dual SIM dual standby" (DSDS) support.
Why This Setup Is a Game-Changer
Once you have dual SIM configured:
- ✅ Never remove your home SIM — no fumbling with SIM trays
- ✅ Receive banking codes and WhatsApp verification on your home number
- ✅ Surf at local speeds with eSIM data
- ✅ Switch eSIMs for different trips without touching your home SIM
Get Your Roaming2 eSIM
Good news: you only need to set this up once. After your eSIM is installed, it stays on your phone for future trips — just activate it when you travel.
Safe travels and stay connected! 🌍📱